What to do when water heater problems come knocking at your door? Maintaining your water heater will not only save you money and time, but it will prevent you from an emergency in the future. Having a plumber periodically check your water heater is an important part of maintenance. You also have the ability to regularly maintain the heater yourself, or spot any early onset problems using the tips below. Follow these steps for insight maintenance.
1. Sediment Build-Up
The main offender of water heater damage is Sediment build-up. This is also known as calcium carbonate, which is a mineral found in water that settles into the tank bottom once the water is introduced to heat. This dirt and grit can reduce the efficiency of the water heater and find it’s way into re-circulating lines and cause problems with circulating pumps and check valves. The best way to remove sediment from the bottom of the tank is to perform a “mini flush”.
Regular flushing of your water heater through the drain valve can help prevent sediment build up and other future problems. This is important to prevent rust, corrosion, and also improves the efficiency of the water heater. This mini-flush is not as beneficial as the full-flush, but a full-flush requires shutting down the water heater. Your plumber should perform a full-flush during a regular yearly maintenance inspection.
- For a mini-flush on an electric water heater, shut off the equipment power source; but leave on the water supply. If you have a gas water heater, you can leave the power supply running.
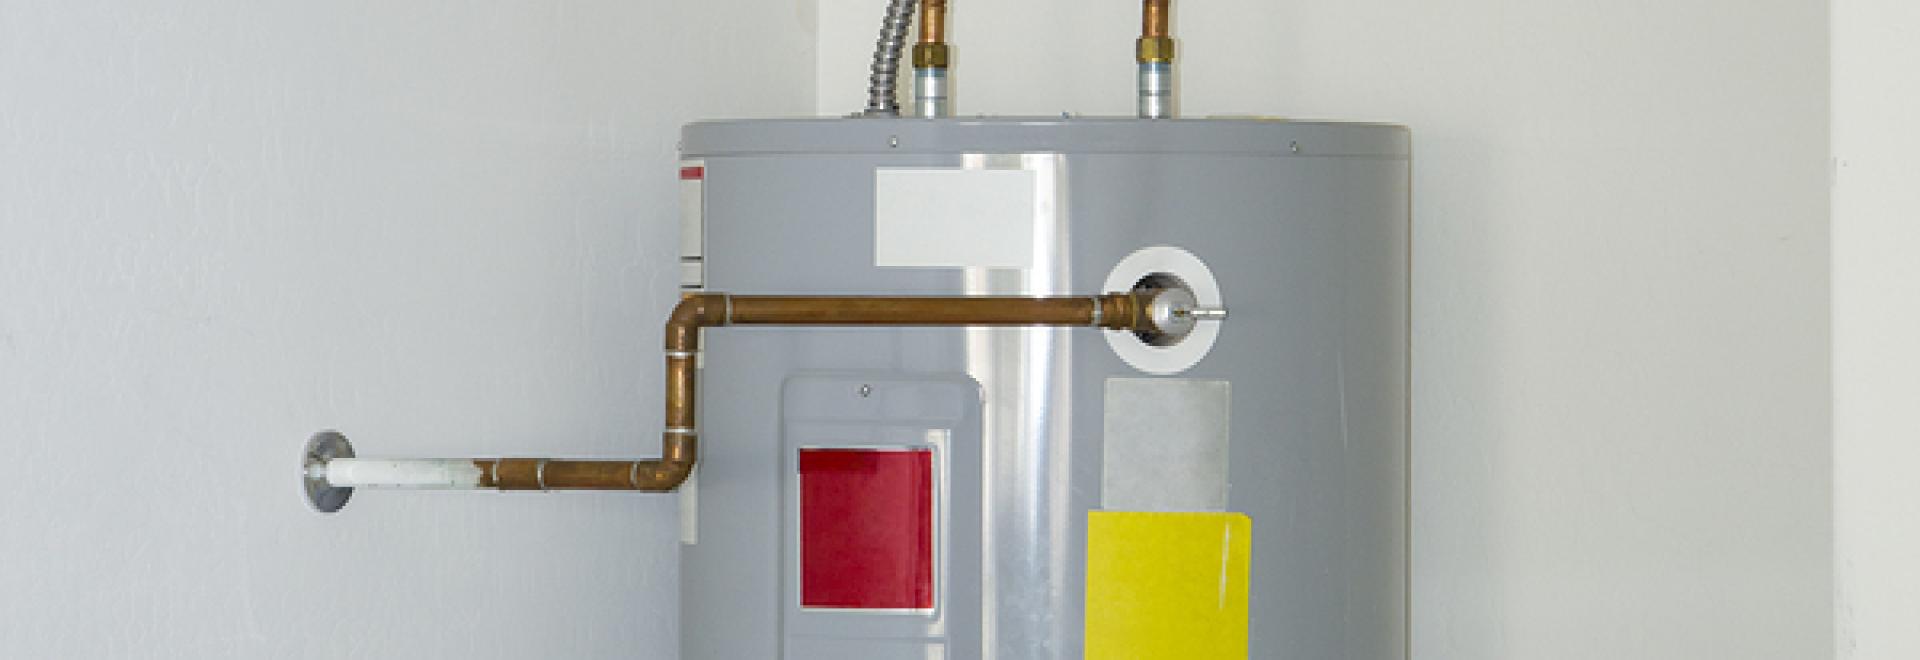
- Connect a garden hose to the drain valve at the bottom of the tank and be sure the end of the hose is in a safe area.
- The drain valve found at the bottom of the tank may have a handle or a short stem with a slot for a flat blade screwdriver. Carefully open the relief valve by lifting the lever. Leave the valve open allowing the water to flow out through the garden hose.
- When the water from the hose runs clear, the heater has been flushed.
- Close the valve by turning it clockwise at the top of the tank.
- Turn on a water faucet in your home, and let it run on hot until all air bubbles disappear. Once completed, turn the power to the heater back on.
- Warning: If you have an older hot water heater that has not been maintenanced regularly, the bottom valve may be corroded and it may not be possible to shut the valve off after flushing. If you are not sure of the condition of your equipment or are not comfortable performing the procedure, please contact a certified technician for assistance.
2. Temperature & Pressure (T&P) Valve Relief
This valve is critical to the safety and proper operation of your water heater. This safety valve releases water and pressure if it becomes too high inside the tank. Water heaters can become very dangerous if the pressure becomes too high and the valves do not work properly.
- Test the T&P valve by lifting upon the lever part way. Then let go and allow the lever to rapidly snap back.
- You should hear a gurgling sound as the valve allows some water to be released into the drain tube.
- If the T&P valve does not respond, then the valve is bad and you should contact a certified technician to have it replaced.
3. Increased Water Heater Temperature Trouble
If you are concerned that your water heater temperature might be too high, follow the steps below to lower it. The recommended temperature on your tap is between 115 to 120 degrees F, according to the US Department of Energy. However, the actual tank minimum should be no less than 130 degrees, otherwise bacterial growth can corrupt your tank causing health issues. Lowering the temperature will also help you save on bills anywhere from 3% to 5% for every 10 degrees. Be sure not to lower the temperature too much, unless you and your family don’t mind a cold shower!
- Check the temperature setting on your water heater.
- On a gas heater there will be a knob on the gas valve near the bottom of the tank. Some gas tanks have an exposed thermostat, which can be set to the desired temperature by rotating it. Others may have the control hidden under a plate that can be moved aside to make the adjustment.
- On an electric water heater look for the thermostat behind a panel. The thermostat has a visible scale and can be adjusted by turning the control to the desired temperature. Typically you can use a screwdriver to adjust the temperature.
- By lowering the temperature setting you will protect the tank from overheating, protect your family from any scalding injuries and reduce the energy used to heat the water.
4. Noise Coming From the Water Heater Tank
Sounds coming from gas water heaters are often caused by sediment build-up at the bottom of the water heater. When the burners heat the bottom of the tank, gas bubbles will then form under the sediment. Popping and thumping noises can occur when the gas bubbles begin escaping out from under the sediment. You may also experience sizzling noises, which can be caused by condensation dripping onto the hot burner.
Alternatively, the noise could be caused by the heating element slowly burning out and the noise is giving you some warning that it might be time to replace the element. An inspection performed by a technician can pin point the problem and help correct the problem.
Sources: www.pippinbrothers.com
www.energystar.gov